Installation
OneTap Login for WooCommerce can be installed directly from the WordPress plugin repository or manually via ZIP file.
Method 1: Install from WordPress.org (Recommended)
This is the easiest and recommended method:
Step 1: Access Plugin Installer
- Log in to your WordPress admin dashboard
- Navigate to Plugins > Add New
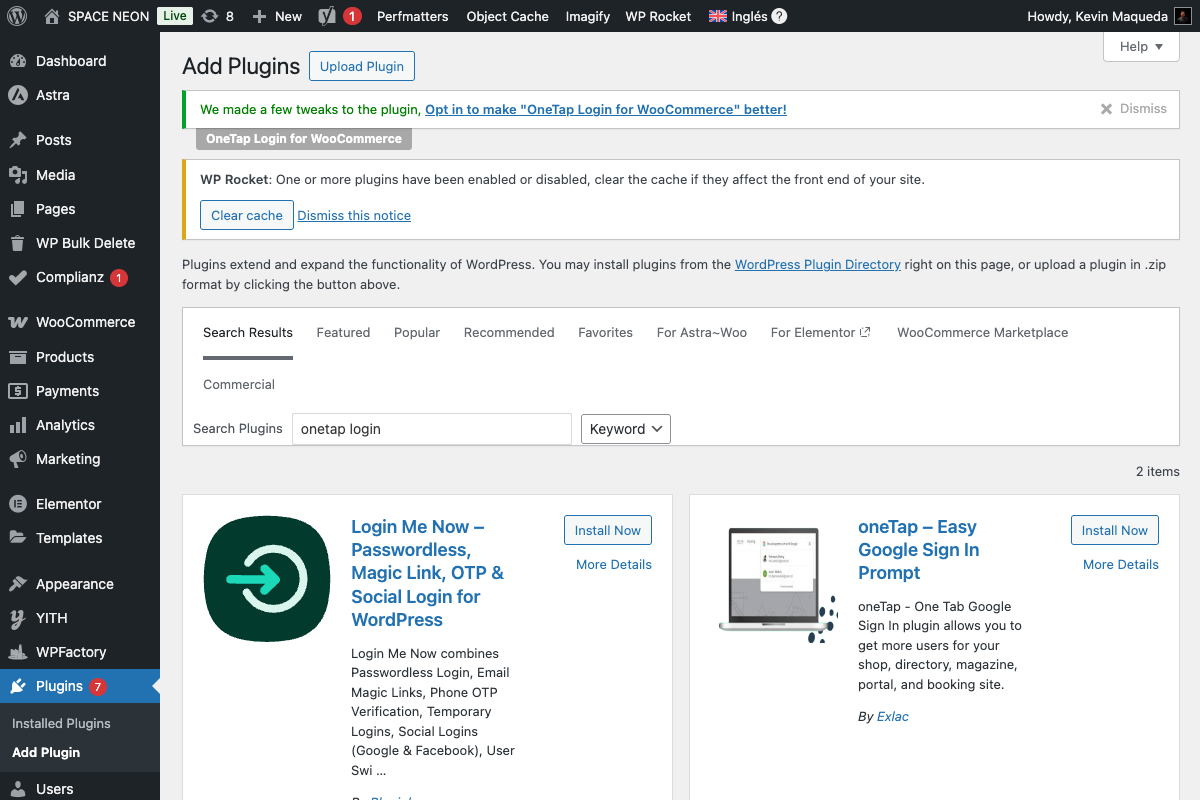
Step 2: Search for the Plugin
- In the search box, type:
OneTap Login for WooCommerce - Look for the plugin by Croma Ideas SL
- Verify it shows the Google One Tap logo
Step 3: Install and Activate
- Click Install Now
- Wait for installation to complete
- Click Activate

Make sure you're installing "OneTap Login for WooCommerce" by Croma Ideas SL. There may be other plugins with similar names that don't offer real One Tap functionality.
Method 2: Manual Installation (ZIP File)
Use this method if you downloaded the plugin from onetapwoo.com or received a PRO version ZIP file.
Step 1: Download the Plugin
- FREE Version: Download from WordPress.org
- PRO Version: Download from your Freemius account
Step 2: Upload via WordPress Admin
- Go to Plugins > Add New
- Click Upload Plugin at the top
- Click Choose File and select the ZIP file
- Click Install Now
- Click Activate Plugin
Step 3: Verify Installation
After activation, you should see:
- OneTap Login menu item under Settings
- Admin notice prompting you to configure the plugin
Method 3: Manual Installation (FTP/SFTP)
For advanced users who prefer FTP access:
Step 1: Extract the ZIP File
Extract the downloaded ZIP file to get the onetap-login-for-woocommerce folder.
Step 2: Upload via FTP
- Connect to your server via FTP/SFTP
- Navigate to
/wp-content/plugins/ - Upload the entire
onetap-login-for-woocommercefolder - Ensure folder permissions are set to
755 - Ensure file permissions are set to
644
Step 3: Activate in WordPress
- Go to Plugins > Installed Plugins
- Find "OneTap Login for WooCommerce"
- Click Activate
Post-Installation Steps
After successful installation:
1. Access Plugin Settings
Navigate to Settings > OneTap Login to access the configuration page.
2. Note the Required URLs
The settings page displays two important URLs you'll need for Google Cloud setup:
Authorized JavaScript Origin:
https://yourdomain.com

Authorized Redirect URI:
https://yourdomain.com/wp-json/onetap/v1/callback
Keep these URLs handy—you'll need them in the next step when setting up Google Cloud Console.
3. Proceed to Google Cloud Setup
The plugin won't work until you configure Google OAuth credentials. Continue to:
Updating the Plugin
Automatic Updates (Recommended)
WordPress automatically checks for plugin updates. When an update is available:
- Go to Plugins > Installed Plugins
- If an update is available, you'll see "Update Now" link
- Click to update
Manual Updates
For manual updates:
- Deactivate the current version (settings are preserved)
- Delete the old plugin files
- Install the new version
- Reactivate
Your settings are stored in the WordPress database and won't be lost during updates.
Uninstalling the Plugin
If you need to remove the plugin:
Deactivate Only
To temporarily disable without removing data:
- Go to Plugins > Installed Plugins
- Click Deactivate under OneTap Login
Complete Removal
To remove the plugin and all data:
- Deactivate the plugin first
- Click Delete
- Confirm deletion
Deleting the plugin removes:
- Plugin settings
- Login statistics
- Email templates (PRO)
- Custom table data
This action cannot be undone. Export your settings first if you plan to reinstall.
Troubleshooting Installation
Plugin Won't Activate
Symptoms: Error message when clicking Activate
Solutions:
- Check PHP version (requires 7.4+)
- Check WordPress version (requires 5.8+)
- Check for conflicting plugins
- Increase PHP memory limit to 256MB
Settings Page Not Appearing
Symptoms: No "OneTap Login" menu after activation
Solutions:
- Clear browser cache
- Log out and log back in
- Check user permissions (must be administrator)
- Deactivate and reactivate the plugin
White Screen After Activation
Symptoms: Blank page or 500 error
Solutions:
- Enable WordPress debug mode
- Check error logs
- Verify PHP version compatibility
- Temporarily disable other plugins
To enable debug mode, add to wp-config.php:
define('WP_DEBUG', true);
define('WP_DEBUG_LOG', true);
Check the log at /wp-content/debug.log
Next Steps
Once installed and activated:
- Set up Google Cloud Console - Create OAuth credentials
- Configure the plugin - Enter your Client ID and Secret
- Verify installation - Test that everything works