GetResponse Integration
Connect OneTap Login to GetResponse to automatically add Google sign-in users to your email campaigns.
Prerequisites
- GetResponse account (free tier available)
- At least one campaign/list created
- API key generated
Step 1: Get GetResponse API Key
1.1 Access API Settings
- Log into GetResponse
- Click Menu (top right)
- Go to Integrations and API
- Click API
1.2 Generate API Key
- Click Generate API key
- Name it "OneTap Login"
- Copy the key
API Key Format:
xxxxxxxxxxxxxxxxxxxxxxxxxxxxxxxx
Step 2: Get Campaign ID
In GetResponse, lists are called "Campaigns" (or "Lists" in newer versions).
2.1 Find Your Campaign
- Go to Lists or Contacts > Lists
- Click on your target list/campaign
- Go to Settings
2.2 Copy Campaign ID
The Campaign ID (also called List Token) is shown in settings.
Or via API:
- In Integrations and API > API
- Use the API to list campaigns
- Note the campaign ID
Campaign ID Format:
XxxXx (alphanumeric)
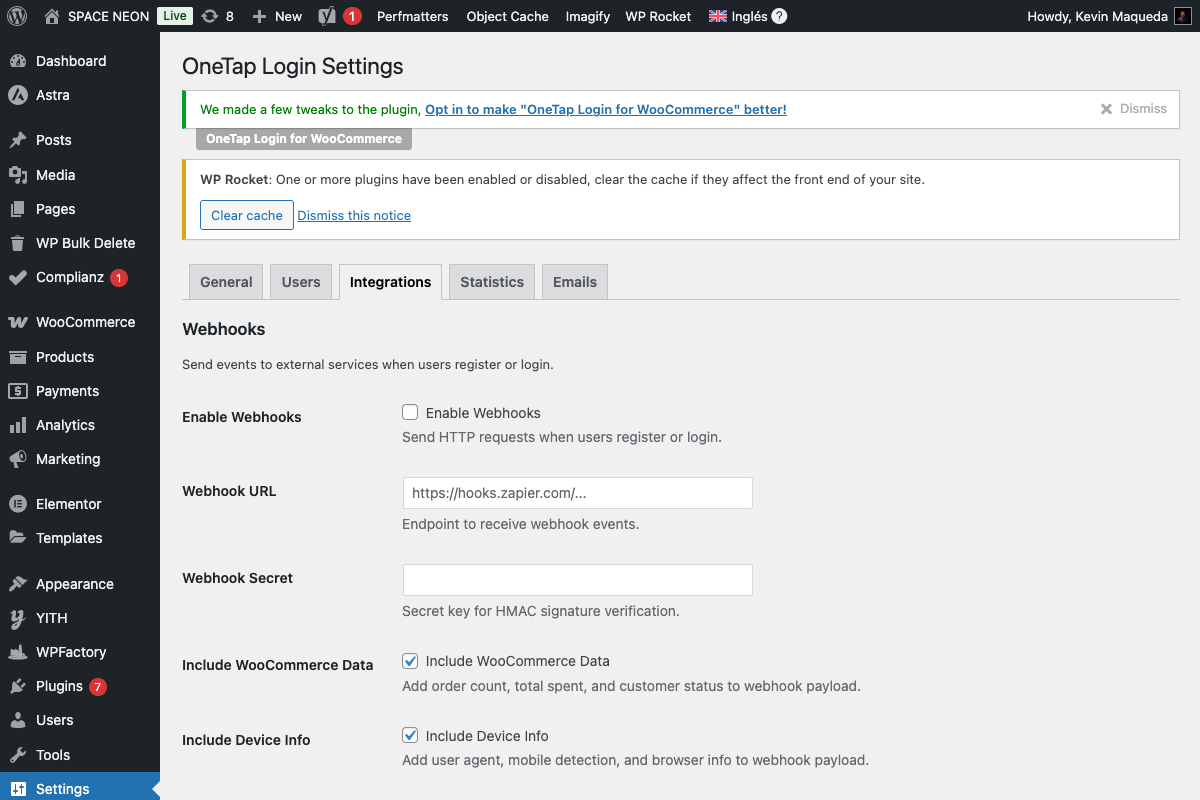
Step 3: Configure OneTap Login
3.1 Access Settings
- Go to WordPress Admin
- Navigate to Settings > OneTap Login
- Click Integrations tab
- Find Email Marketing section
3.2 Enter Credentials
- Enable Email Marketing: Toggle on
- Provider: Select GetResponse
- API Key: Paste your API key
- Campaign ID: Enter your Campaign/List ID
3.3 Test Connection
- Click Test Connection
- Verify success message
- Click Save Changes
Configuration Options
Double Opt-in
Configure in GetResponse:
- Go to Lists > [Your List] > Settings
- Enable Double Opt-in
- Customize confirmation email
When enabled, subscribers must confirm via email.
Contact Fields
GetResponse receives:
| OneTap Field | GetResponse Field |
|---|---|
| First Name | name (custom field) |
| Last Name | name (custom field) |
Custom Fields
Create custom fields in GetResponse:
- Go to Contacts > Custom Fields
- Create field (e.g., "Signup Source")
- Map in OneTap if available
Tags
Add tags to new contacts:
Setting: Tags to add
Example: google-signup, new-lead
Subscriber Flow
With Double Opt-in
1. Contact added to campaign
2. Status: Unconfirmed
3. DOI email sent
4. User clicks confirm
5. Status: Active
Without Double Opt-in
1. Contact added
2. Status: Active immediately
Verification
Check Contact
- Go to GetResponse Contacts
- Search for test email
- Verify contact exists
- Check campaign/list membership
Check Activity
- Click on contact
- View activity timeline
- See subscription event
API Rate Limits
GetResponse limits:
- 30,000 requests/day (standard)
- Per-minute limits vary by plan
More than sufficient for OneTap.
Error Messages
"Invalid API Key"
Cause: Wrong or inactive API key.
Solution:
- Verify API key in GetResponse
- Generate new key
- Check account is active
"Campaign Not Found"
Cause: Wrong Campaign ID.
Solution:
- Verify Campaign ID
- Check campaign isn't deleted
- Use correct ID format
"Contact Already Exists"
Cause: Email already subscribed.
Solution: Normal behavior. GetResponse updates existing contacts.
"Invalid Email"
Cause: Email format issue.
Solution: Google emails should always be valid. Check for special characters.
GetResponse-Specific Features
Autoresponders
Set up welcome sequence:
- Go to Automation > Autoresponders
- Create new autoresponder
- Trigger: Day 0 (immediately)
- Design welcome email
Workflows
Create advanced automation:
- Go to Automation > Workflows
- Create from template or scratch
- Trigger: Subscribed to list
- Add conditions and actions
Webinars
GetResponse includes webinar platform:
- Promote webinars to new signups
- Auto-register attendees
- Follow up after webinars
Landing Pages
Create landing pages:
- Custom signup pages
- Post-registration thank you pages
- A/B testing
Segments
Create segment of Google users:
- Go to Contacts > Search
- Advanced search
- Condition: Custom field > signup_source = google
Integration Code
How OneTap Calls GetResponse
// Simplified example
$response = wp_remote_post(
    'https://api.getresponse.com/v3/contacts',
    [
        'headers' => [
            'X-Auth-Token' => 'api-key ' . $api_key,
            'Content-Type' => 'application/json'
        ],
        'body' => json_encode([
            'email' => $email,
            'name' => $first_name . ' ' . $last_name,
            'campaign' => [
                'campaignId' => $campaign_id
            ],
            'customFieldValues' => [
                [
                    'customFieldId' => 'signup_source_id',
                    'value' => ['google_onetap']
                ]
            ],
            'tags' => [
                ['tagId' => $google_tag_id]
            ]
        ])
    ]
);
Troubleshooting
Connection Test Fails
- Verify API key
- Check account status
- Ensure API access is enabled
- Try generating new key
Contact Not Appearing
- Check DOI: May need confirmation
- Verify campaign ID
- Check GetResponse blacklist
- Review API logs
Tags Not Applied
- Verify tag exists in GetResponse
- Check tag ID/name
- Tags created manually first
GetResponse MAX
For larger businesses, GetResponse MAX offers:
- Higher sending limits
- Dedicated IP
- Priority support
- Advanced features
OneTap works with all GetResponse plans.
Best Practices
Do's
- Enable double opt-in
- Set up autoresponders
- Use tags for segmentation
- Create workflows for nurturing
Don'ts
- Don't exceed rate limits
- Don't skip DOI for EU contacts
- Don't delete active campaigns
Next Steps
- Marketing Consent - GDPR consent UI
- Email Marketing Overview - Compare providers
- MailChimp Setup - Alternative provider